Case Study: Personal Branding Session with Natalie Nava
In this case study, I’ll walk through step by step of my Personal Branding Process with an actual client, Natalie Nava of Normalize Rest. Let’s dive right in!
Step 1: The Questionnaire
The first step was to ask Natalie a set of questions about her journey and her business, so we could figure out how exactly to approach her shoot.
Natalie had a busy corporate career until she started feeling burnt out. She decided to take some time off to work on herself and decide what she wanted to do with her life. Eventually, she realized that her calling was to help other women, particularly women of color, who are in similar life situations and want to get out of stressful corporate careers.
Here’s what I learned about her that would be relevant to the photo session:
Her ideal client was a woman in her early thirties who was feeling burned out in a busy, successful corporate career and wanted to find something more true to herself.
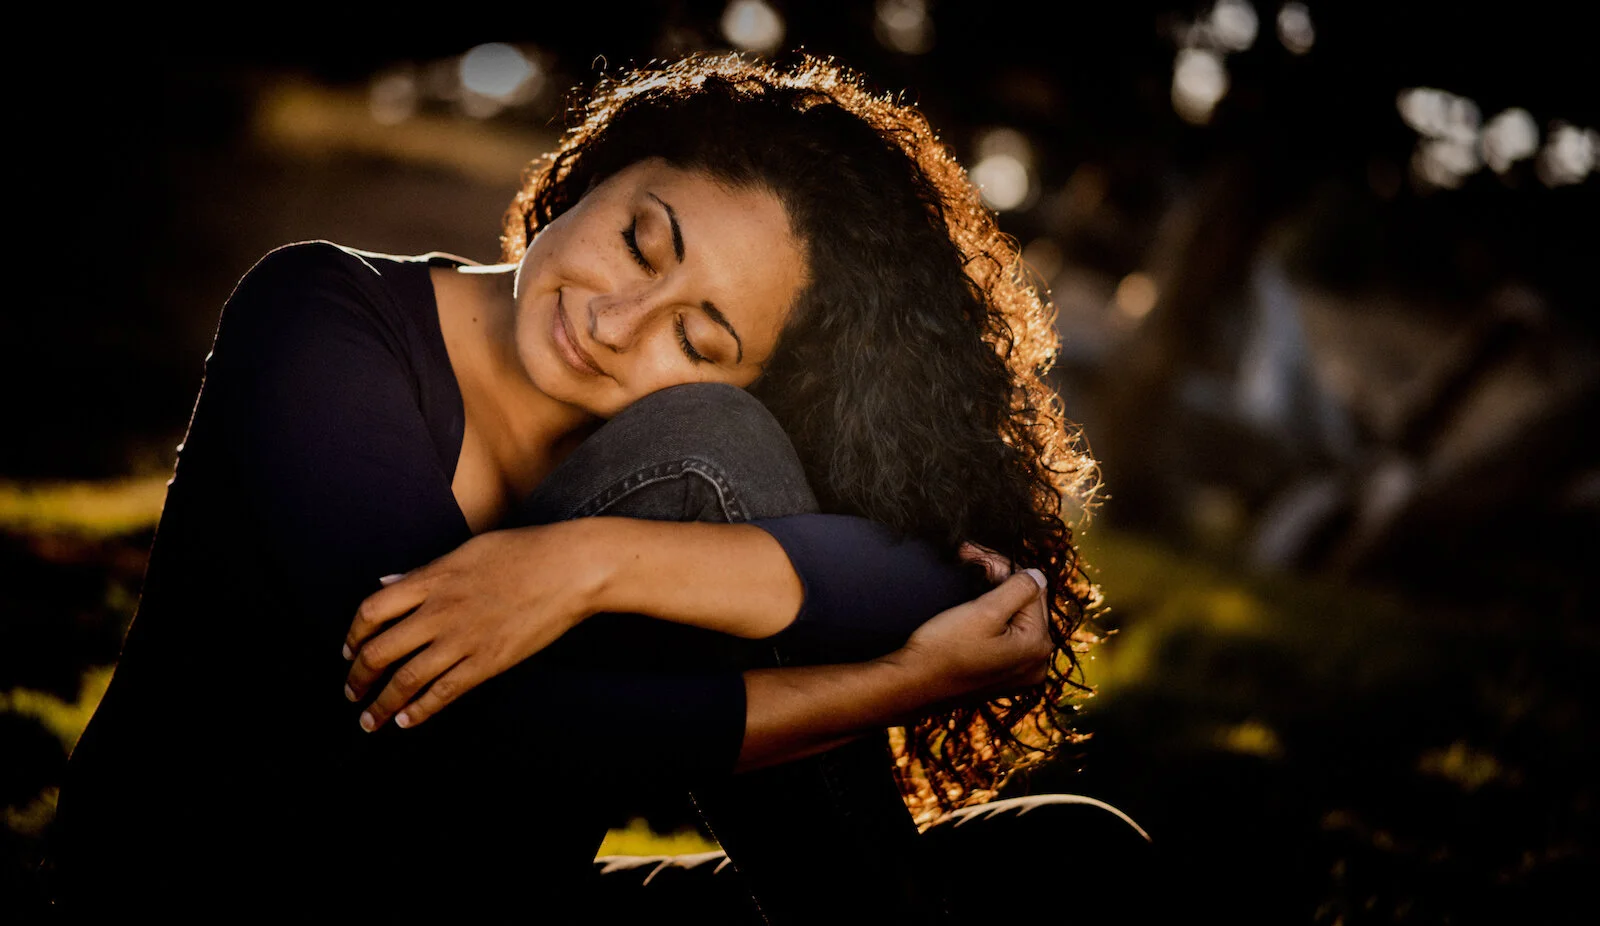
Her core values were around the importance of rest: she wanted her photos to convey joy, restfulness and the simple pleasures of being.
She wanted to connect with her clients through her website and social media, specifically Instagram.
At this point, I had a fair idea of what Natalie wanted to convey in her shoot. But how exactly did she want to represent it? That’s where the Mood Board comes in.
Step 2: The Mood Board
I shared a Pinterest Board with Natalie for her to add images that she was inspired by. This is a critical step for me and my clients, because it gets us on the same page on what we want to convey. It tells me about what kind of locations we might want to shoot in, what outfits a client is drawn to and how they choose to represent the emotions and values they talked about. I encourage my clients to add comments to their pins on the Mood Board to provide me more specifics about what drew them to an image.
Sometimes, I’ll go ahead and add a few images based on my previous experience with clients, as a way to get things started.
Here’s a link to Natalie’s mood board. What do you see in there? I see looks that are less formal, more ‘natural’ and relaxed, which matches up with her desires she expressed on her questionnaire.
Step 3: The Planning Session
The planning session with Natalie was a Zoom call. I started by giving her control of the screen and asked her to walk me through her Mood Board. What I wanted to know:
Which images did she absolutely love and why?
Which images didn’t work for her and why?
She pointed out images of a woman taking a nap, a woman lying outdoors in the grass and a woman reading a book. She emphasized the fact that they looked very natural, with very little makeup or formal attire, and to her they conveyed the relaxed, restful vibe she was looking for.
She was quite clear that she did not want images that conveyed anything about work; no laptops, phones or even coffee mugs! Her ideal client wanted to get away from these symbols of hustling, and wanted no part of that culture.
At the end of the call, we had figured out the following details about the shoot:
We’d use two locations, one indoor and one outdoor.
She’d pick outfits that were ‘nice casual’ i.e. well put-together, but still conveying the informal and relaxed vibe she was going for. She wanted minimal hair and makeup.
We’d include her favorite activities in the shoot as props: her favorite books, knitting equipment, and make sure to include shots of her “taking a nap”. However, there wouldn’t be any laptops, phones or anything else evoking work in the picture.
Step 4: The Photo shoot
We picked two locations for Natalie’s photo shoot. The first was her apartment, which she had decorated herself. The living room had gorgeous natural light, a large comfortable leather couch, and a cozy hanging chair. We used all of those in the photos, along with some of her favorite books as well as her knitting.
The second location was outdoors in the Berkeley Marina, right before sunset at the Golden Hour. This gave us the opportunity to use a variety of settings: trees, grass and the Bay with a gorgeous view of Mt Tam and San Francisco.
Step 5: The Gallery
A typical 2-hour photo shoot results in 400-500 photos. Bringing those down to the 60 or so photos I would deliver to Natalie was quite a task, since I had so many amazing images! However, I have to maintain the highest standards for my clients, and so most of those images would not make the cut.
Here’s a snippet showing the gallery that Natalie received. As you can see, I organized it into albums by theme and type of photo, showing how she might be able to use them in her marketing. For example, banner images are wide-angle photos that go on top of a web page, with enough room to overlay text on them.
The ‘Proofs’ album are images that didn’t make my final cut, but came pretty close. In some cases, my clients fall in love with a few of those images, so I’m happy to deliver them.
That’s it! Hope this walkthrough was helpful to you. If you’re interested in your own personal branding session, I’d love to hear from you! Please feel free to email me or use the contact form on this site.


